Segments
Segments are saved, reusable views of your contacts. Each segment is backed by filter rules, so you can aim broadcasts and follow-ups at the right people without rebuilding the same logic every time.
How Segments Work in ChatMaven
These toolbar controls work together before you save or apply segment rules:
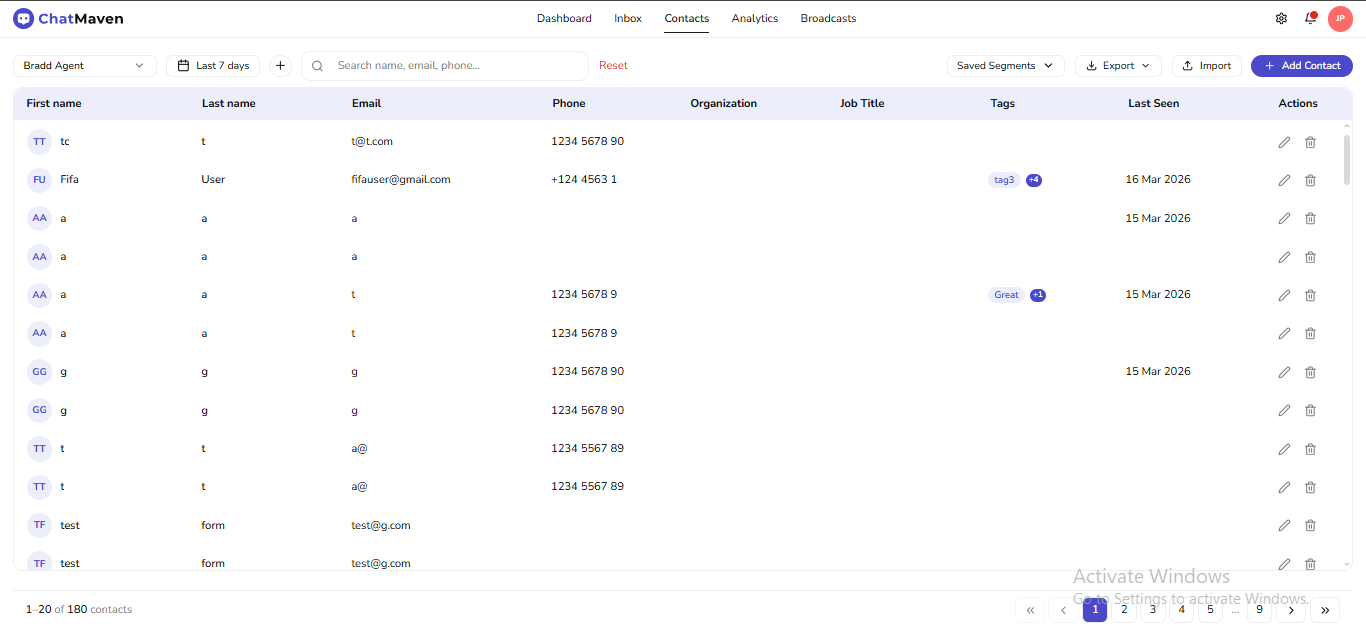
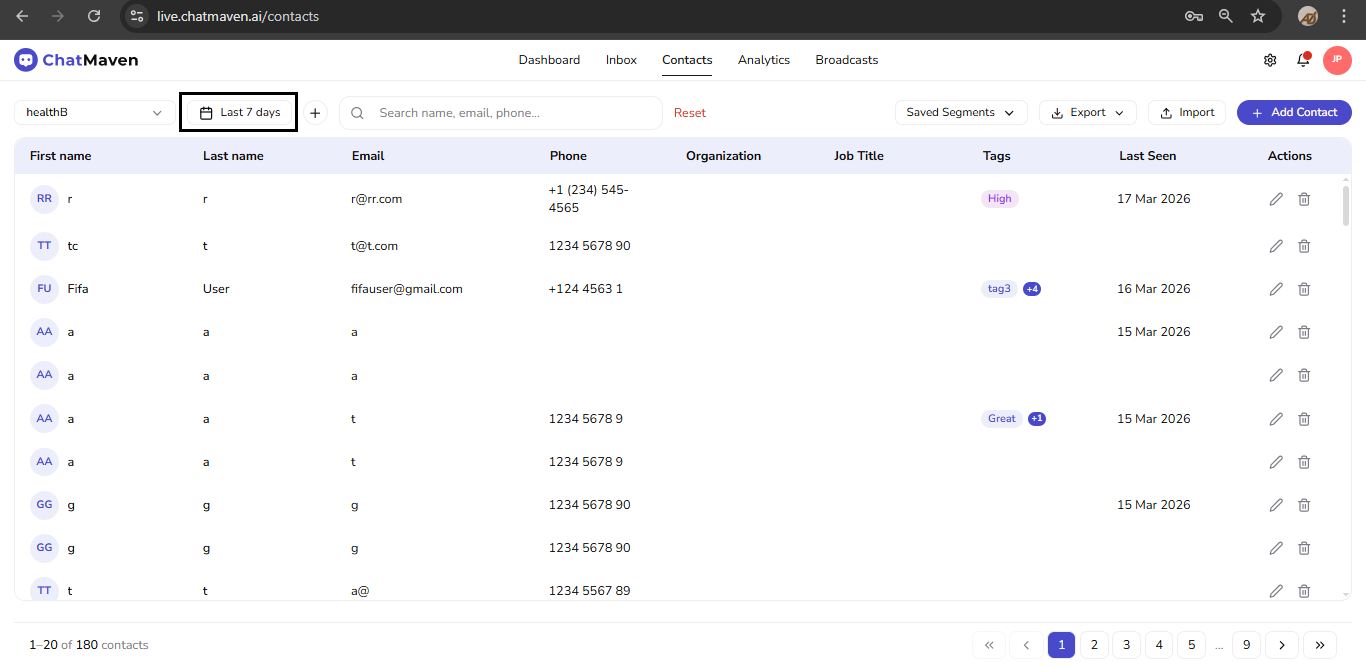
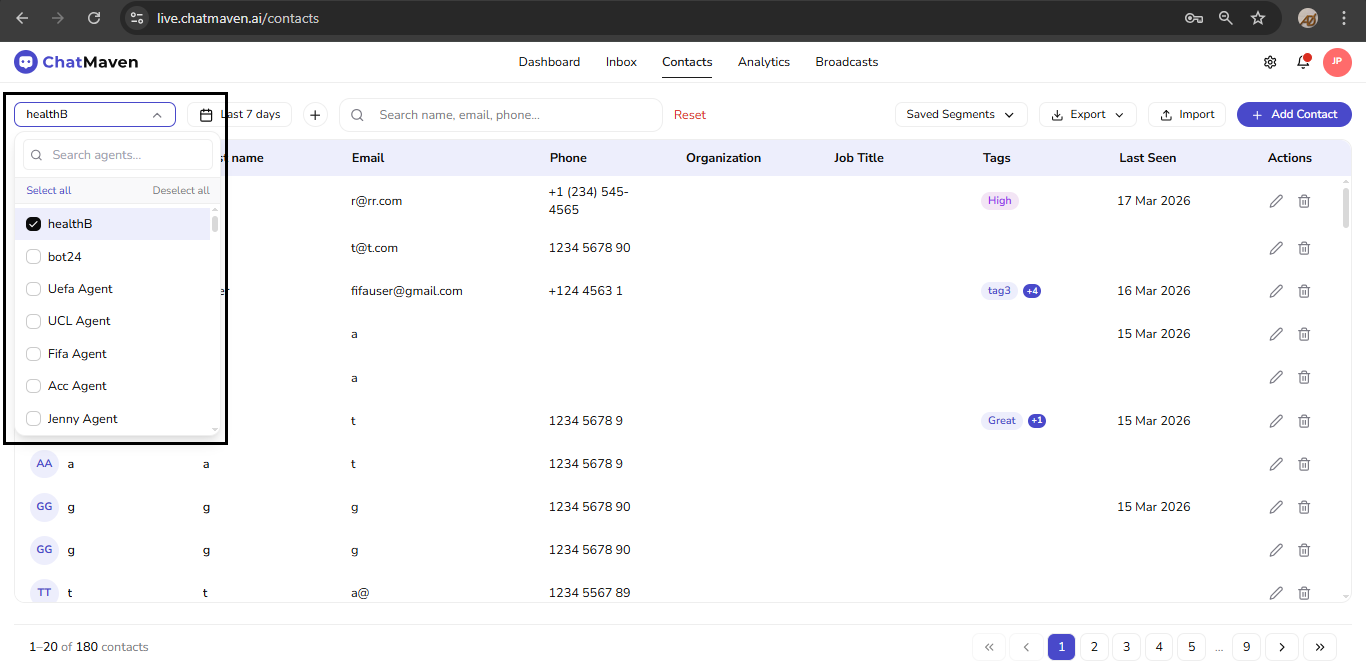
1. Agent menu — who the list belongs to
Open the agent dropdown on the left of the toolbar. Search agents, or use Select all / Deselect all when your workspace allows multi-select. The grid only shows contacts for the agent context you pick.
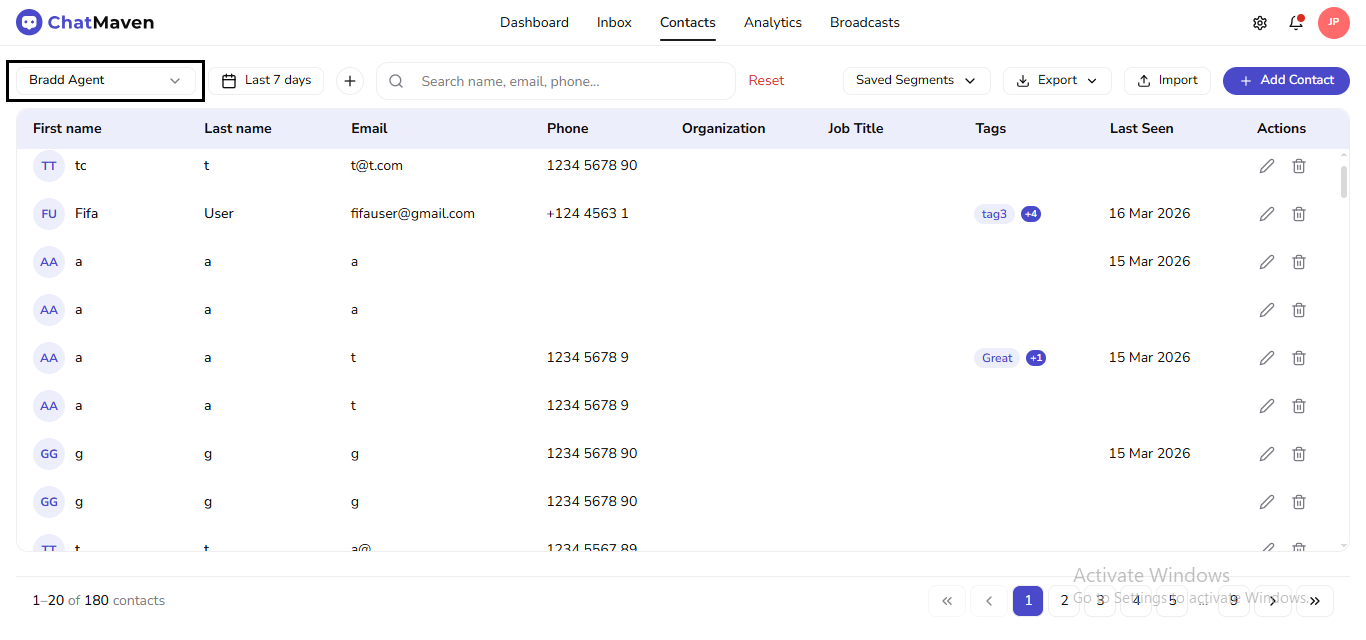
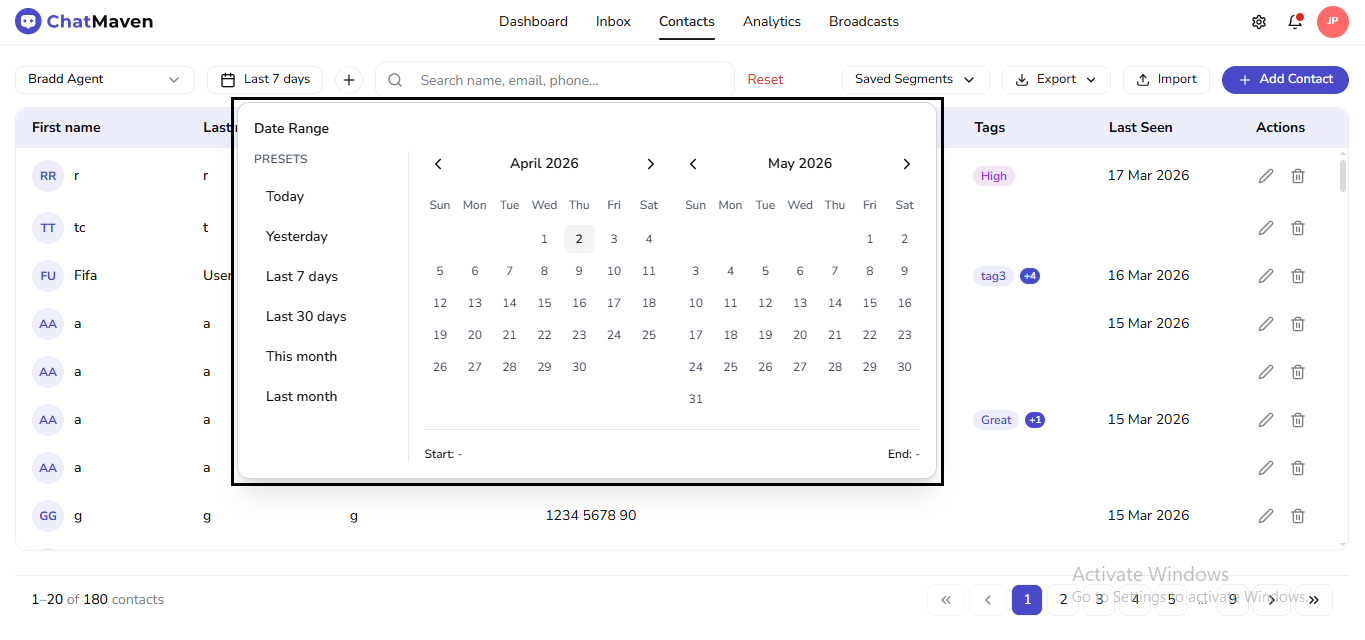
2. Date range
Set Last 7 days (or another preset) to limit how far back the contact list looks.
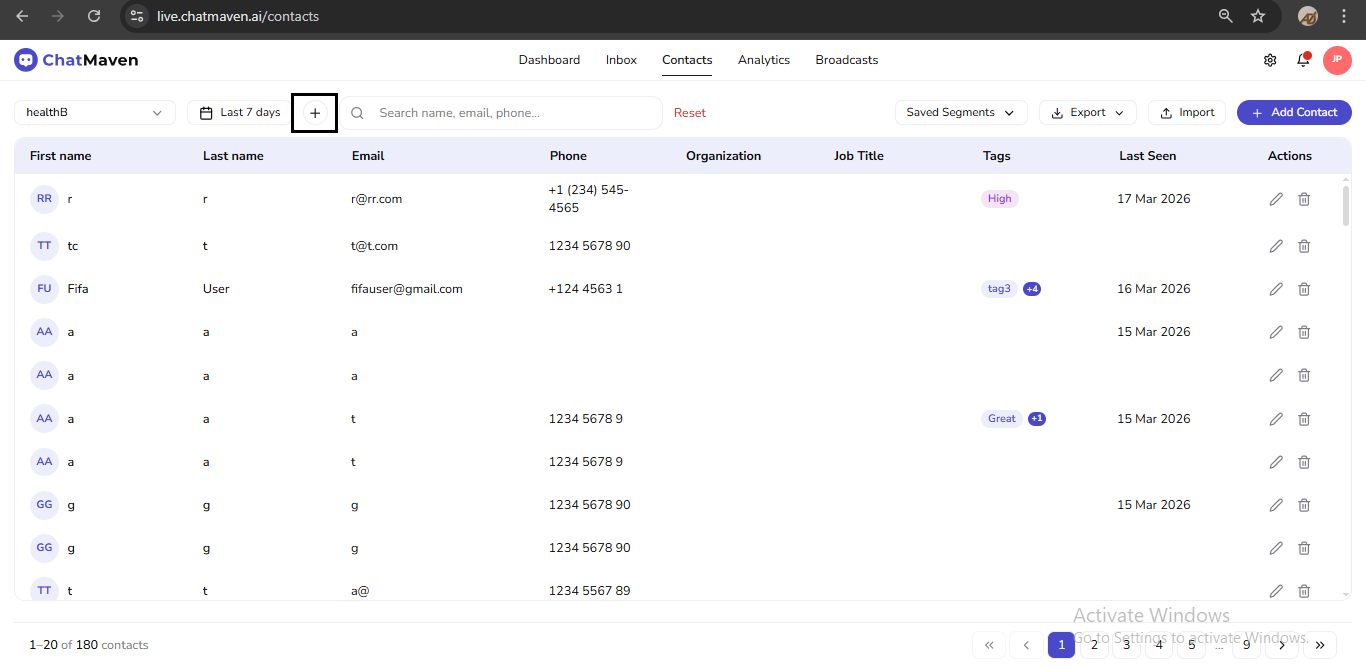
3. + button — open the segment builder
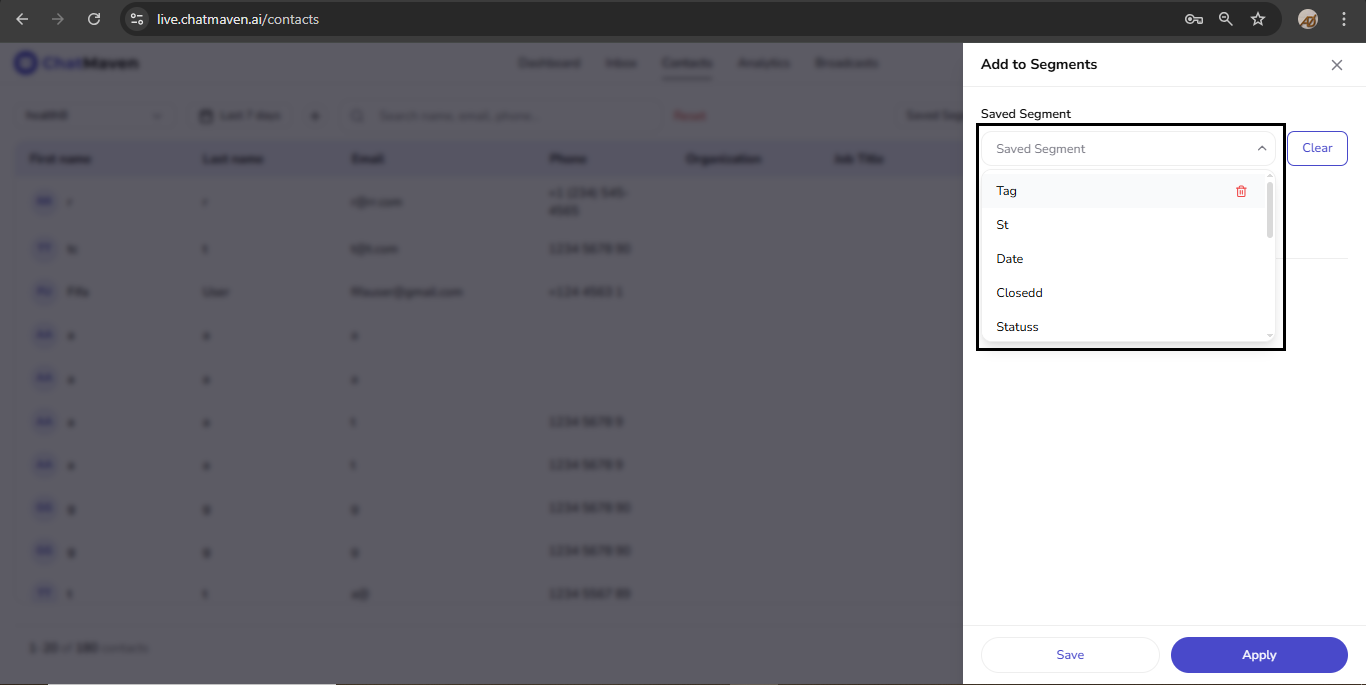
The + control immediately to the right of the date opens Add to Segments (the rule builder). That is not the same as the Saved Segments menu.
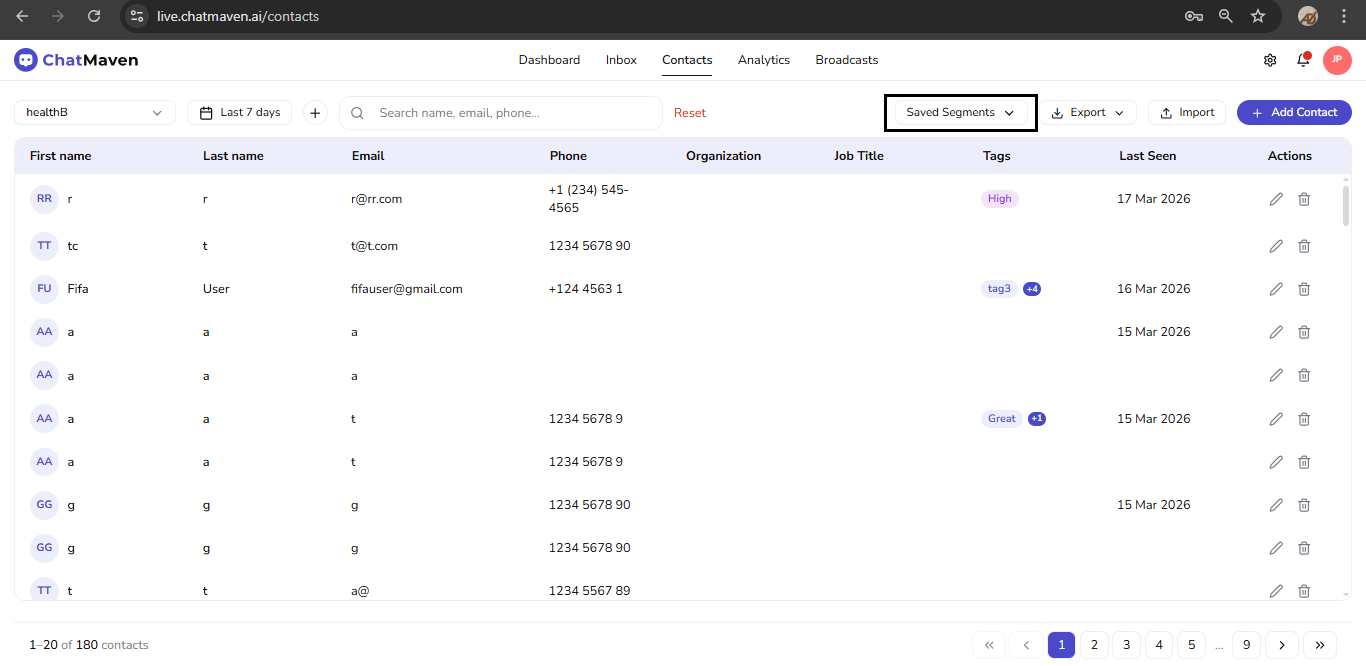
4. Saved Segments — pick an existing saved view
The Saved Segments control only selects a segment that is already saved; it does not start the “create new rules” flow. Use it after you have built segments, or to switch between built-in and custom entries.
Membership is still calculated from rules: anyone who satisfies the segment’s conditions appears in the list; if their data changes and they no longer qualify, they drop out automatically.
Creating a Segment
-
Choose agent on the toolbar.
-
Set date range.
-
Click + to the right of the date. The Saved Segments button does not start this flow.
-
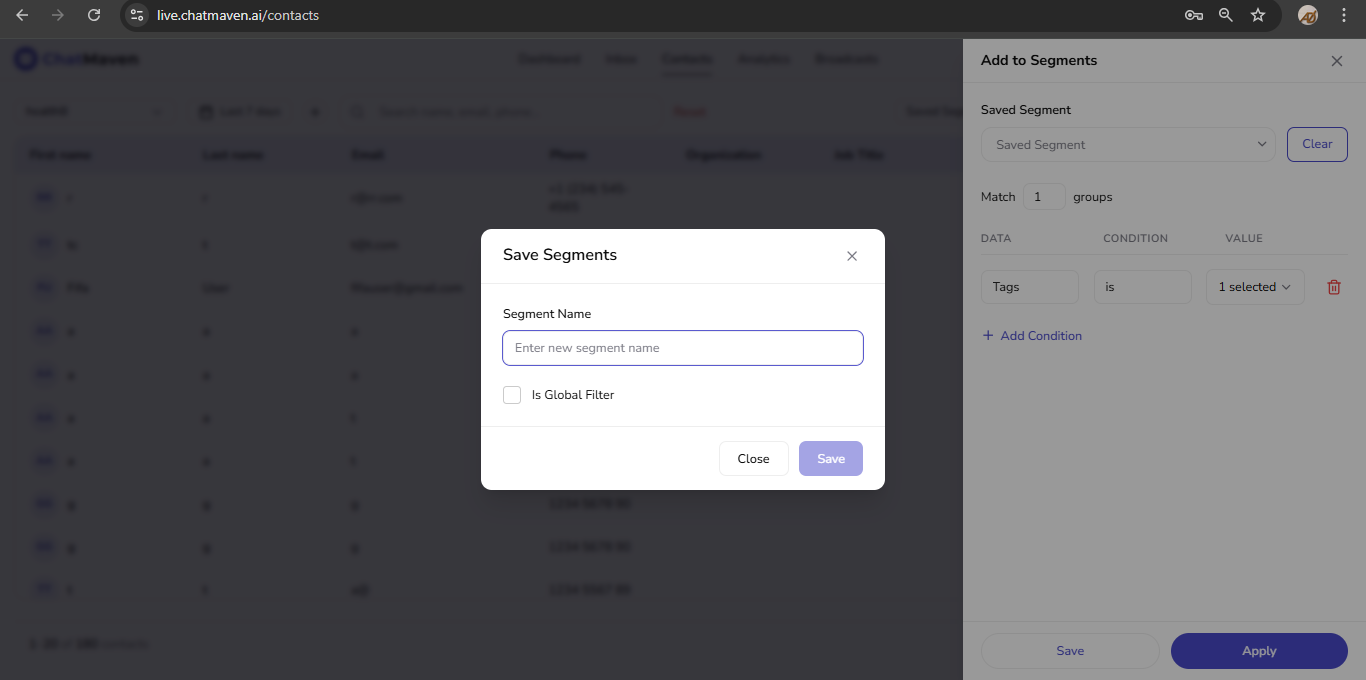
A drawer opens titled Add to Segments. Under Saved Segment, type a name for what you are about to save, or use Clear to start from a blank builder. Open the chevron beside the name field to pick an existing segment and load its conditions as a template.
-
Add filter rows as described in Add Filters to Your New Segment.
-
In the drawer footer, click Save. A Save Segments dialog asks for the segment name and optional Is Global Filter; confirm with Save. The Saved Segments menu updates and you can apply the new segment to the grid.
-
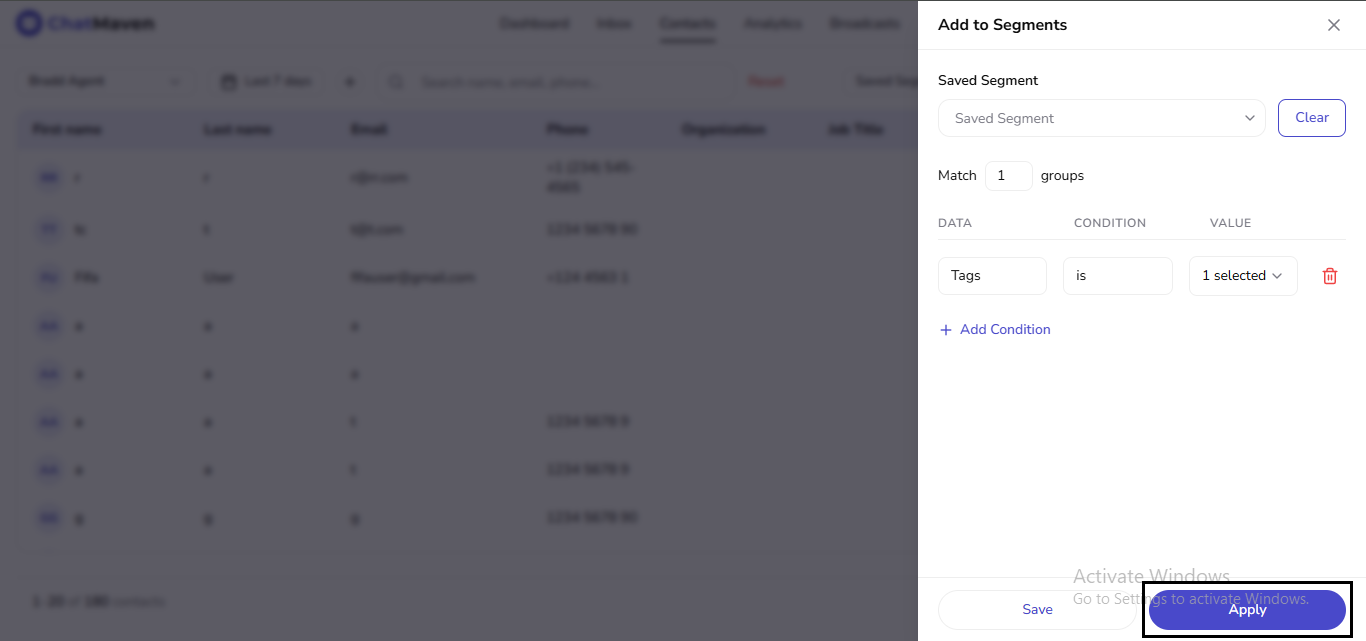
Use Apply instead of Save when you only want to try the rules once. Apply does not add a reusable entry to Saved Segments.
There is no “create new segment” row inside the Saved Segments dropdown. If that menu is all you open, you will only select or delete segments—not author new ones.
Add Filters to Your New Segment
Inside Add to Segments:
-
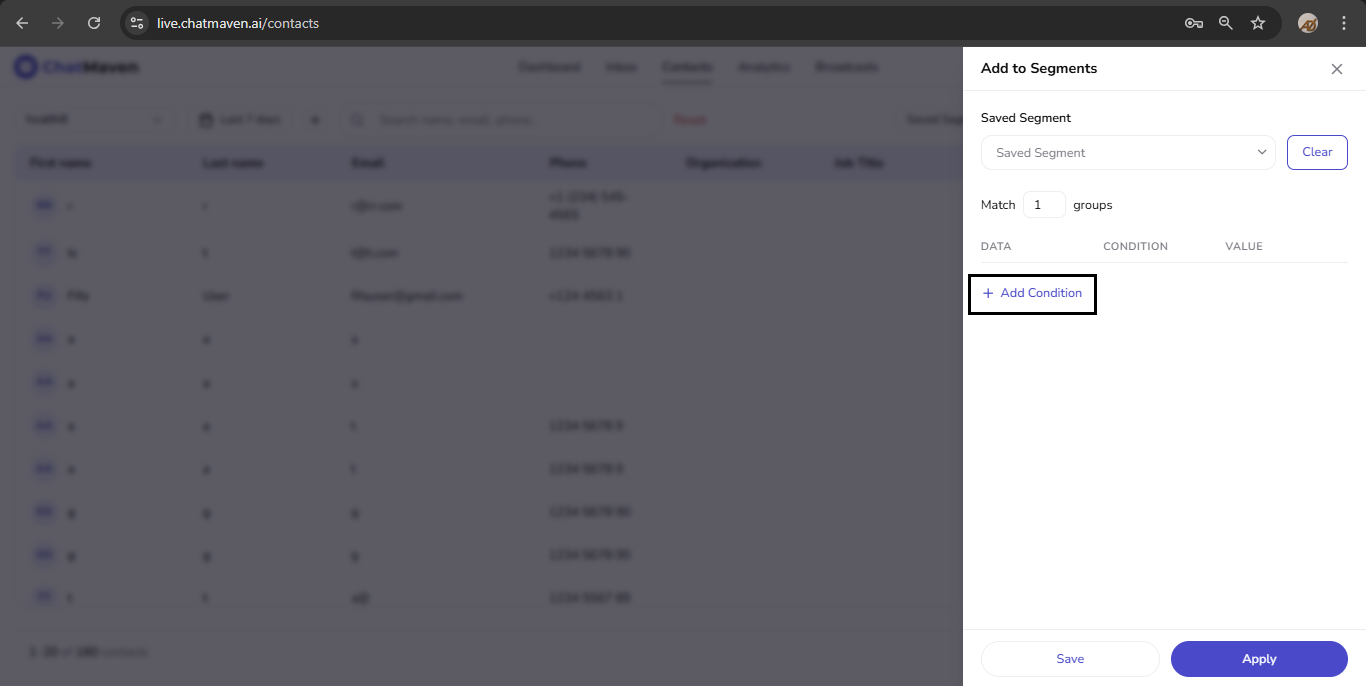
Click + Add Condition for each rule.
-
For every row, set DATA (field), CONDITION (operator), and VALUE.
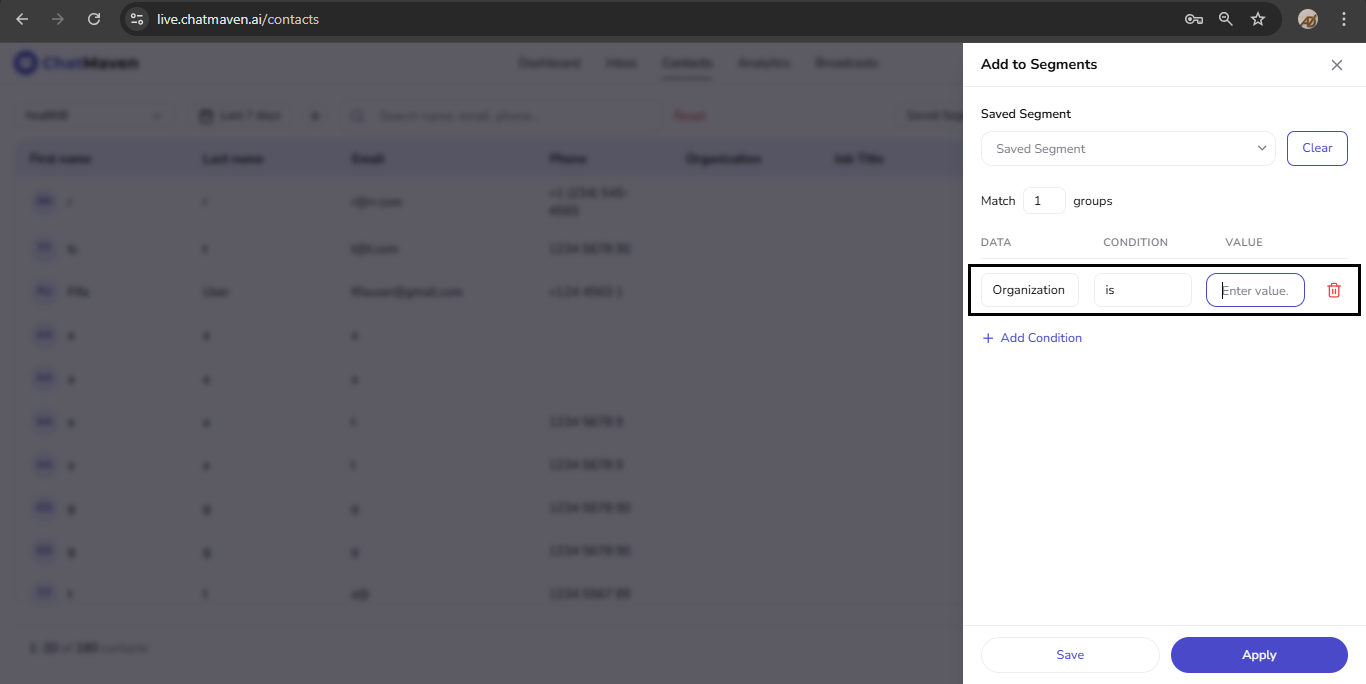
-
Available fields include Organization, Tags, City/Country, Conversation Count, Last Conversation Date, Conversation Status, Assigned Workspace, Has conversation in workspace, Browser, and OS (exact set can evolve with the product).
-
Use Match to control how groups of conditions combine.
-
When the rules look right, use Save (and the name dialog) to persist the segment, or Apply to run them once without saving.
Editing a Segment
-
Click + next to the date range to open Add to Segments.
-
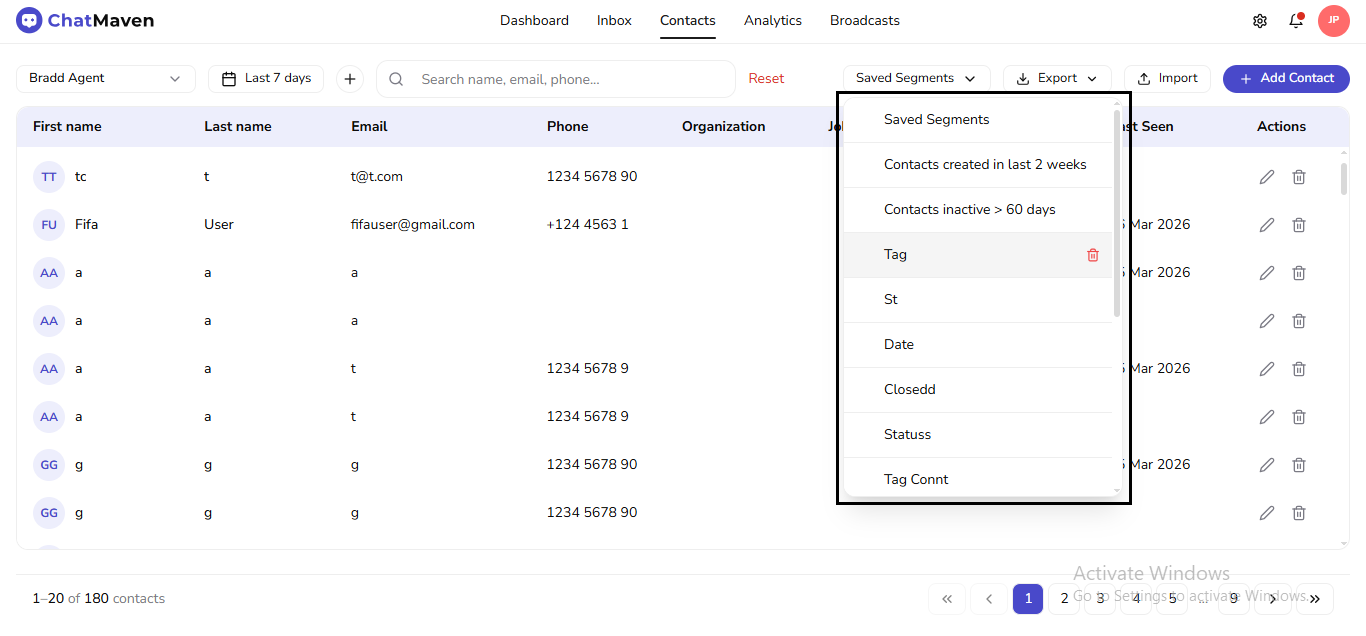
Open the Saved Segment dropdown, choose the segment to edit, and wait for its conditions to load. Custom segments show a trash icon in this list for deletion.
-
Adjust conditions or Match, then Save and complete the dialog.
If you see Update, use it to overwrite the existing segment. If you only see Save, use a new name or delete the old segment afterward so you do not keep two overlapping definitions.
Renaming a Segment
There is no separate Rename in the Saved Segments list. Either:
- Load the segment in Add to Segments, change the Saved Segment name text, save, then remove the duplicate old name if both appear, or
- Save under a new label, verify behavior, then delete the old segment from Saved Segments or the drawer list.
Deleting a Segment
-
From the Saved Segments dropdown on the toolbar, use the trash icon on a custom segment.
-
In Add to Segments, use the trash icon next to a custom segment in the Saved Segment list.
Built-in segments are not removed the same way. Deleting a custom segment is permanent.
Default segments, custom segments, and switching views
ChatMaven includes two built-in segments. Custom segments you save appear in the same Saved Segments menu.
| Segment | Purpose |
|---|---|
| Contacts created in last 2 weeks | Recently added contacts. |
| Contacts inactive > 60 days | No recent activity; useful for re-engagement or cleanup. |
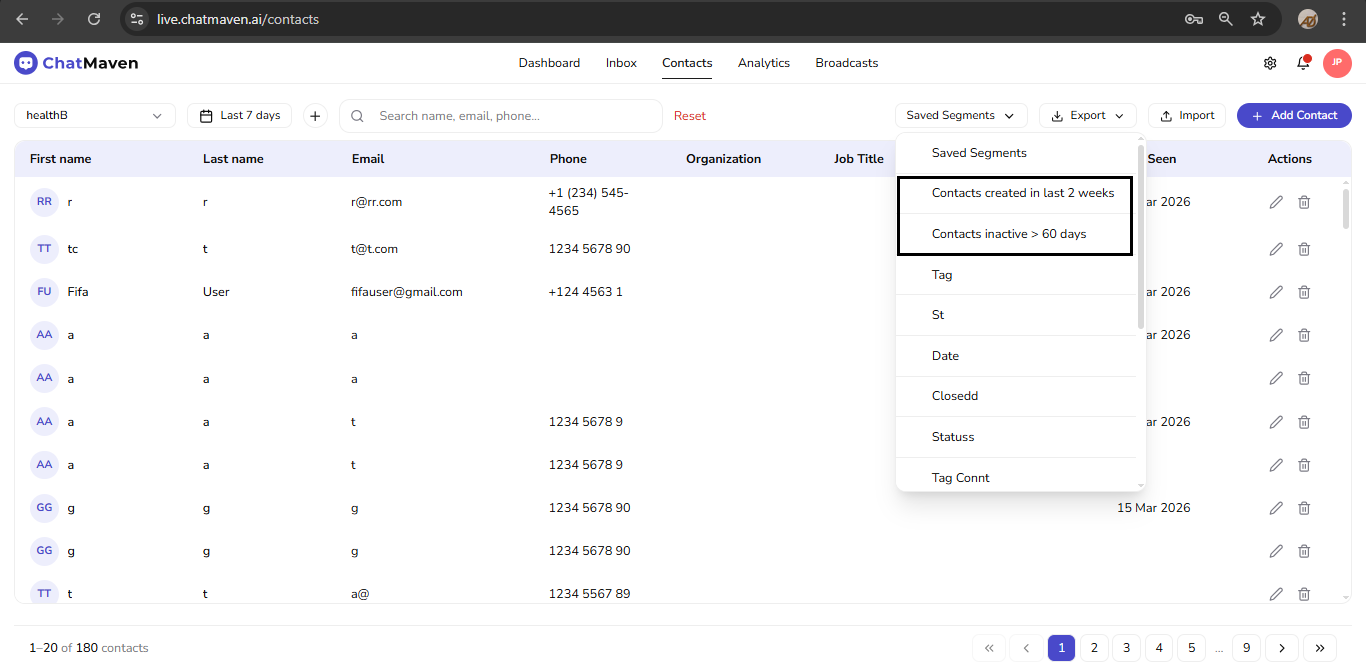
To use a segment: open Saved Segments, choose Saved Segments (full scope), a default, or a custom name, then narrow with date range and Search contacts if needed.
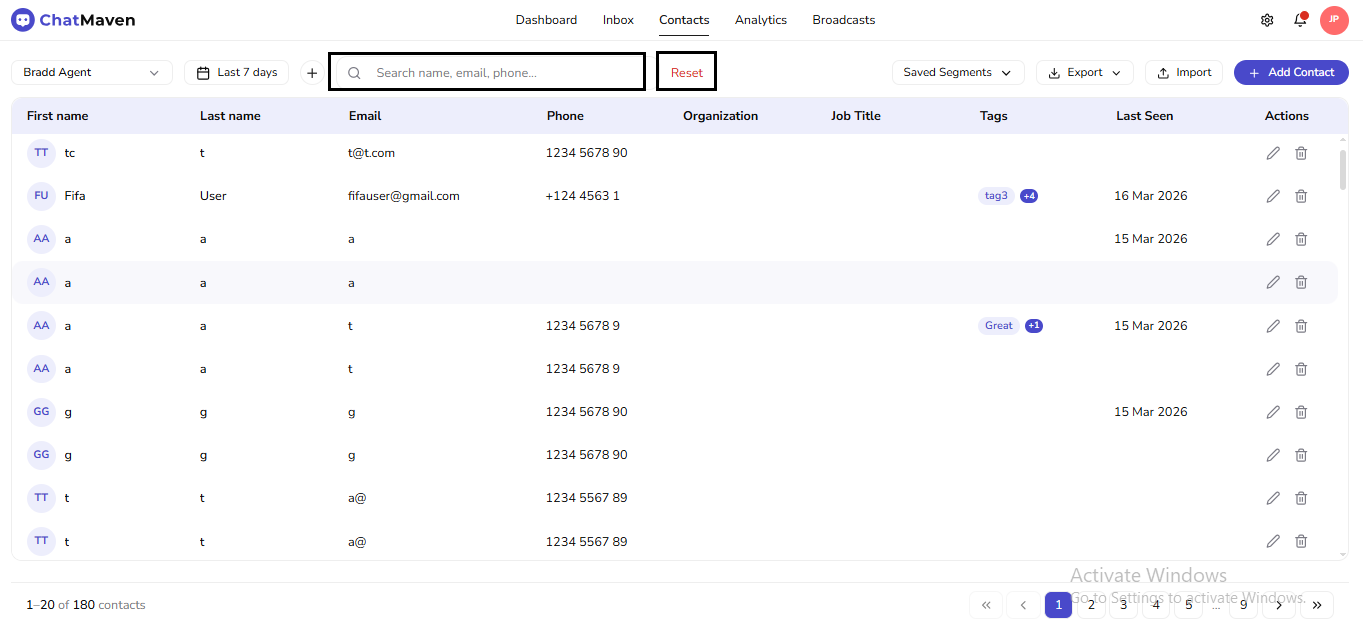
When you need to clear text filters quickly, Search contacts and Reset are scoped the same way as segments:
Ideas for Custom Segments
- Tags — campaign, source, or lifecycle labels.
- Conversation status or workspace — activity by bot or workspace.
- Location or organization — regional or account lists.
FAQ and Troubleshooting
How Does a Contact Enter or Exit a Segment?
The table is recalculated from live data. For example, if a segment requires Tags contains enterprise, a contact joins when that tag is added and leaves when it no longer matches.
Segment Counts or Rows Look Wrong
Confirm date range, agent, Saved Segments, and Search contacts. All of them scope the same grid.
A Specific Contact Is Missing
Check that their profile and history satisfy every condition (and Match grouping) for that segment.