Forms
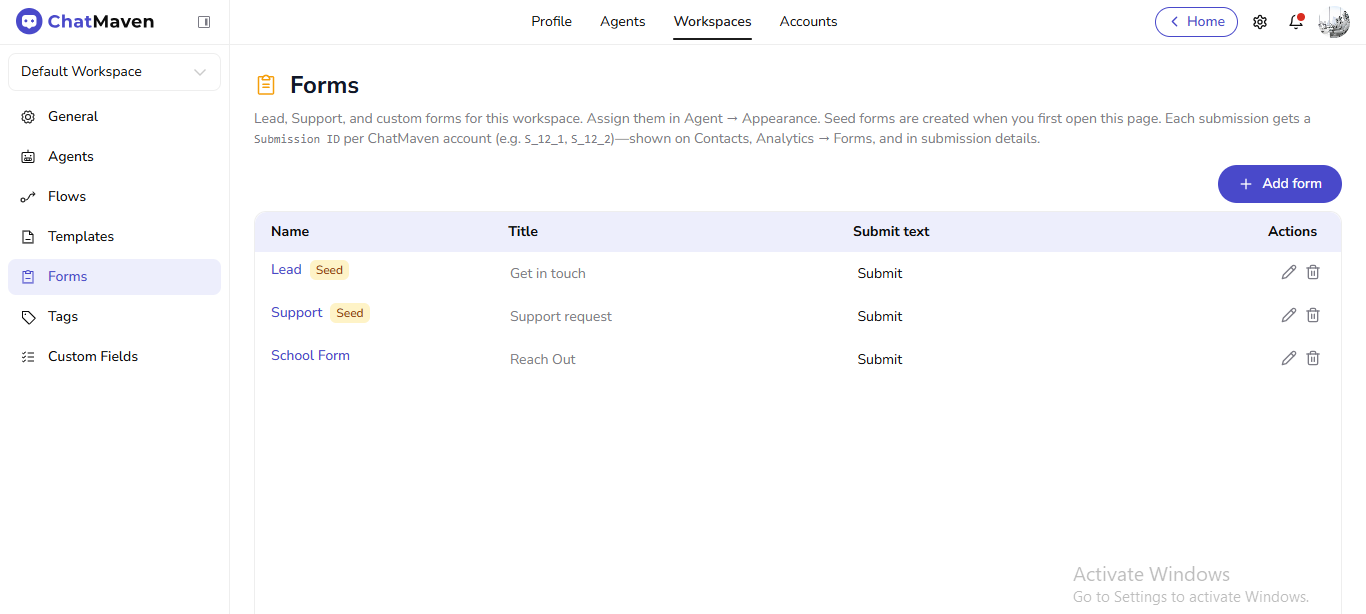
Workspace Forms are lead, support, and custom forms. The product explains that you assign them under Agent → Appearance, that Seed forms may appear when you first open the page, and that each submission gets a Submission ID (visible on Contacts, Analytics → Forms, and in submission details).
Live URL: live.chatmaven.ai/workspaces/forms
Forms video
Watch the video below for a walkthrough of workspace Forms. You can also follow the written steps in this guide.
Open the Forms video on Google Drive in a new tab if the player above does not load.
Open Forms
Top bar Workspaces → sidebar Forms.
Create a form
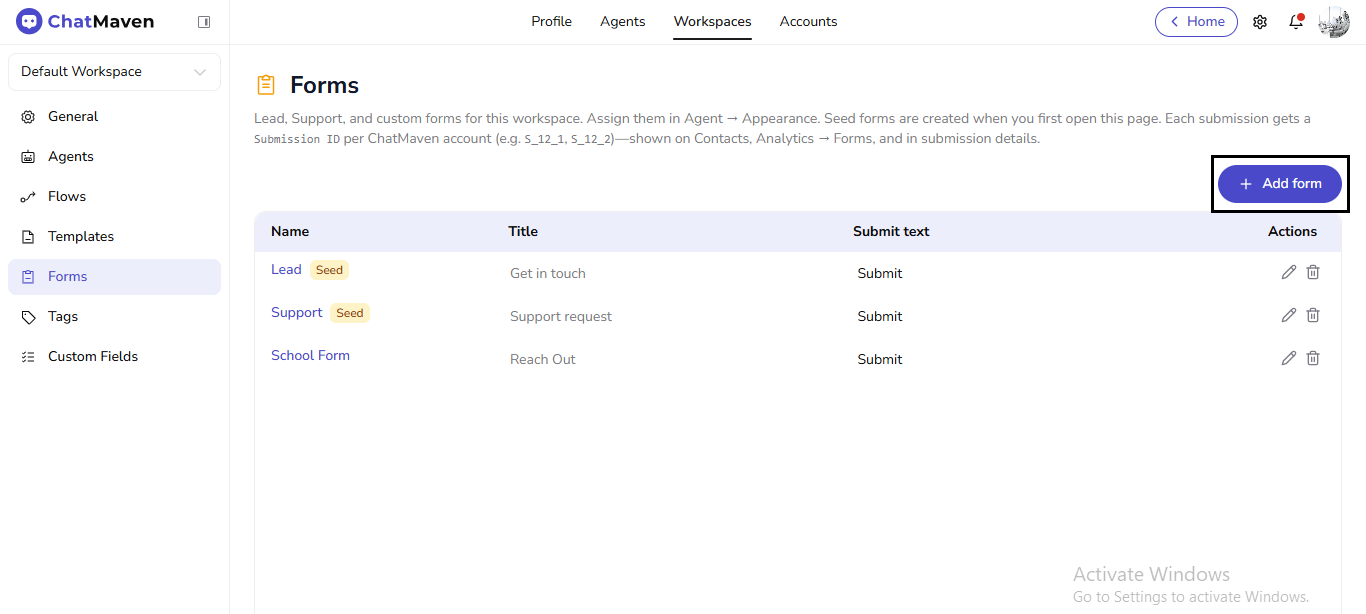
- Click Add form.
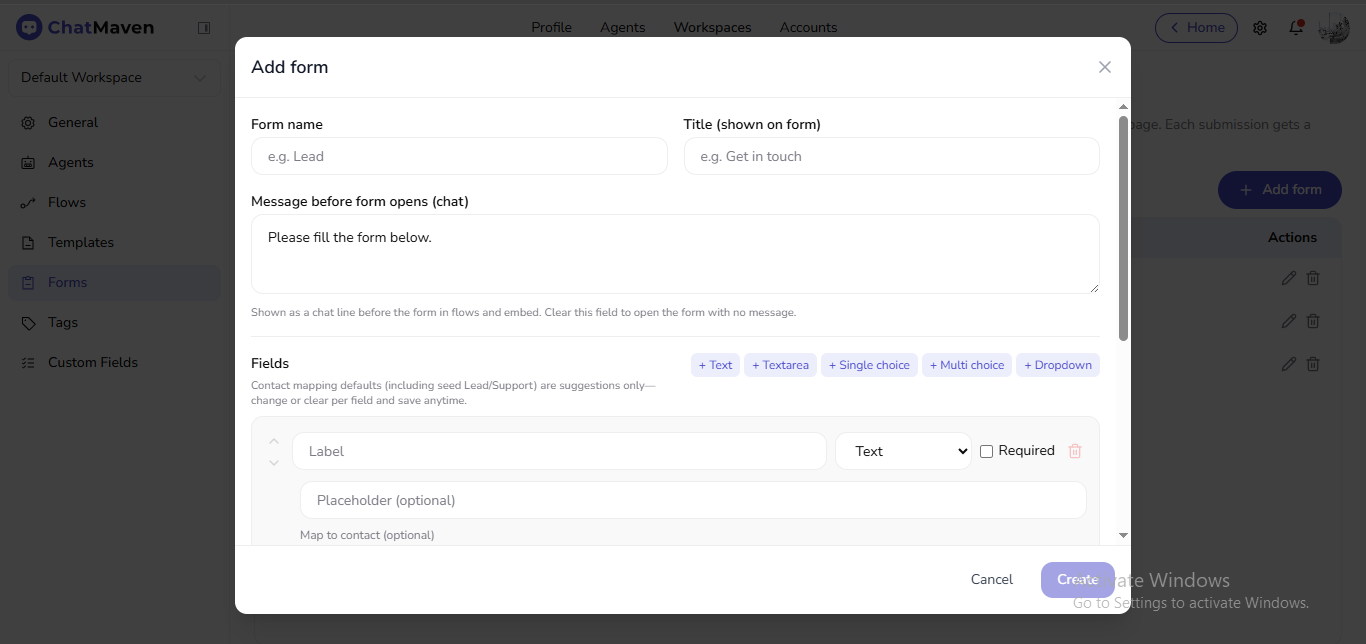
- In Add form, set:
- Form name (internal, e.g. Lead)
- Title (shown on form) (visitor-facing)
- Message before form opens (chat) — optional chat line before the form in flows/embeds; clear it to open the form without a line.
- Under Fields, add Text, Textarea, Single choice, Multi choice, or Dropdown. For each field, set label, type, Required, placeholder, optional Map to contact, and reorder or remove fields.
- Click Create; Cancel closes without saving.
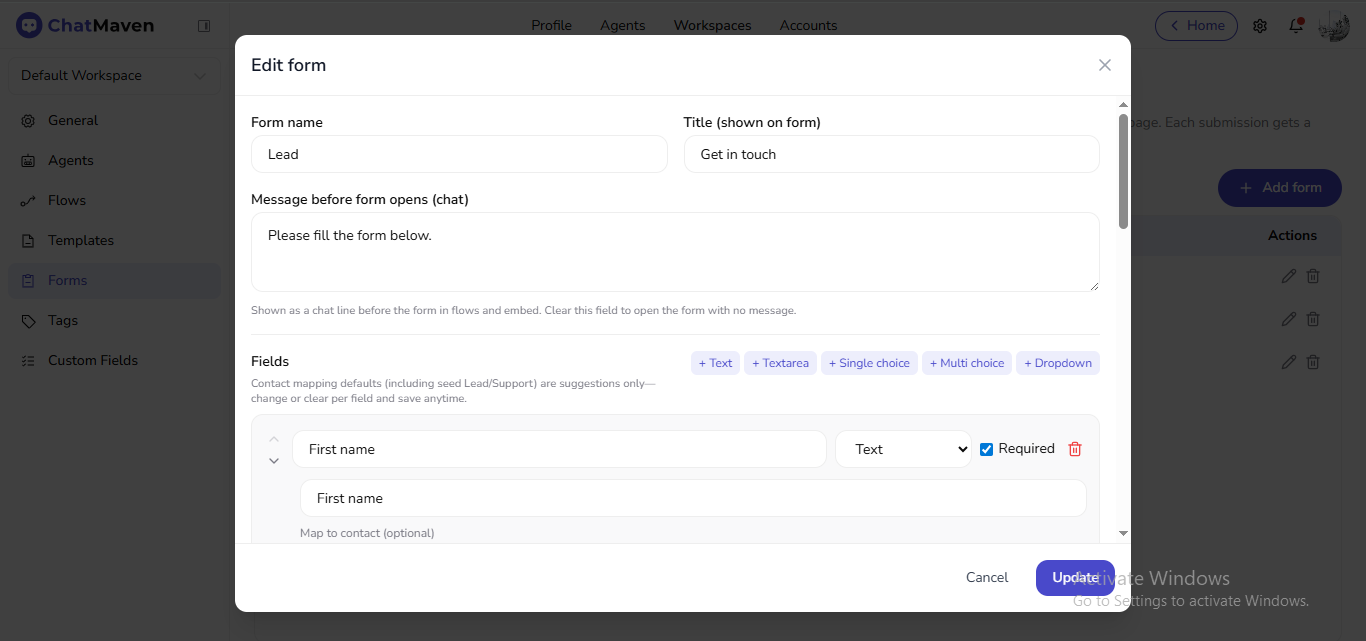
Edit a form
- In the table Actions, click the pencil for the form.
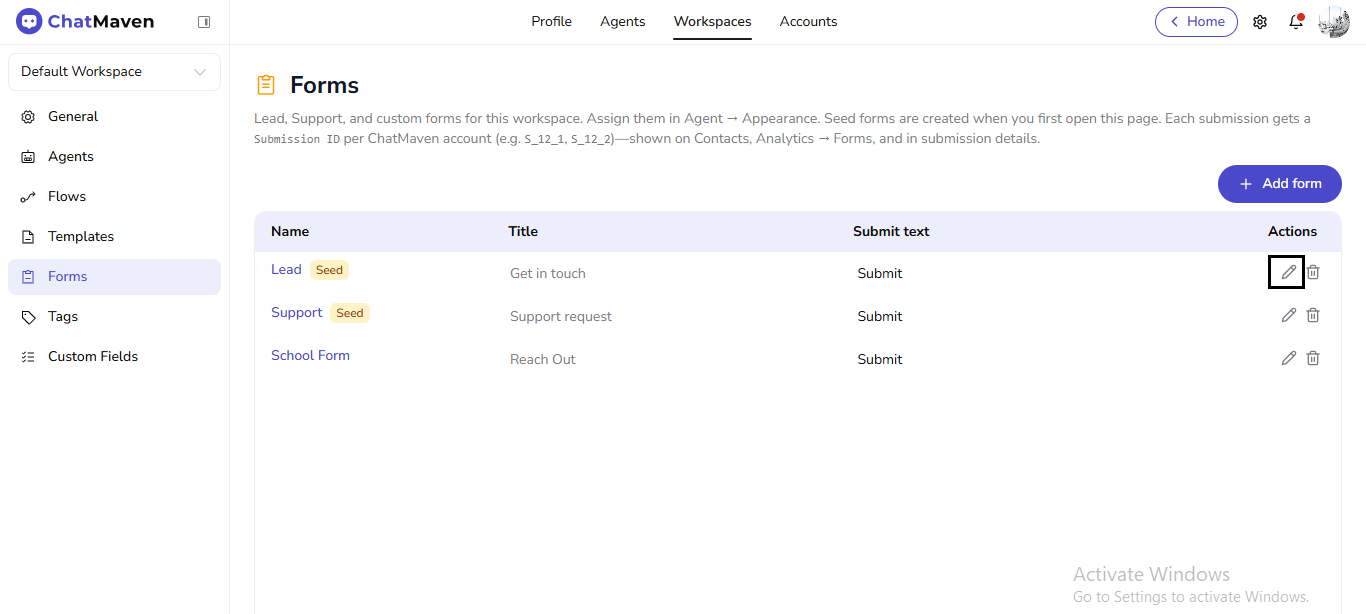
- In Edit form, change names, title, chat message, and fields the same way as creation.
- Click Update to save or Cancel to discard.
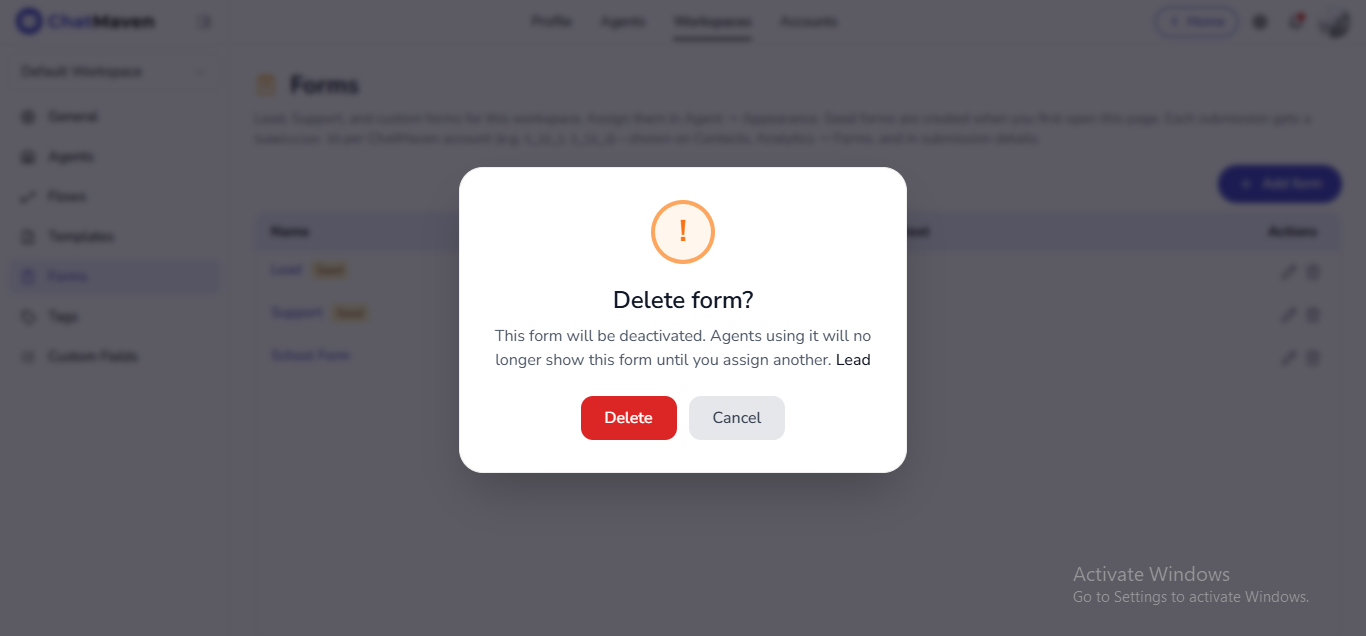
Delete a form
- In Actions, click the trash icon.

- In Delete form?, read that the form will be deactivated and agents using it will need another form assigned. Confirm Delete or Cancel.
Related
- Chatbot Appearance
- Flows overview — ChatMaven Form steps and flow variables.